Prepare your email campaign in the following format.
Create new campaign
1. Log into Percy Dashboard
2. In the left sidebar, click Campaigns
3. Click Create new campaign
4. Enter a descriptive name for your campaign
Set up your campaign
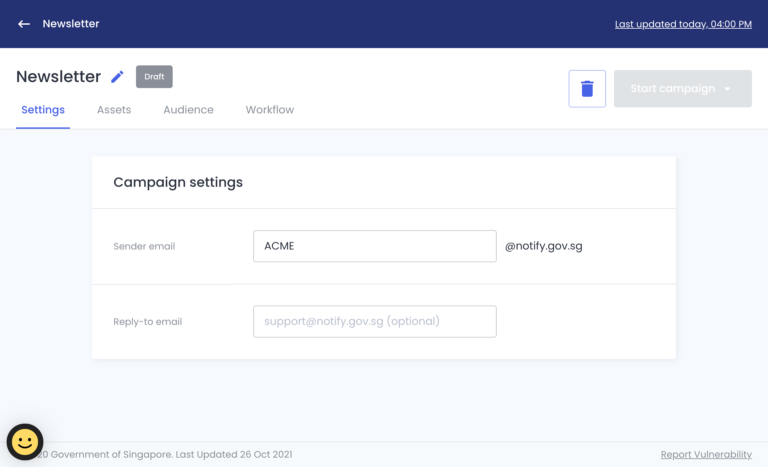
Navigate to Settings section:
– Enter Sender email and Reply-to email (if relevant).
Sender email is what your audience will see in his/her received email.
Reply-to email is the email address to receive your audience ‘s replies of your email campaign.
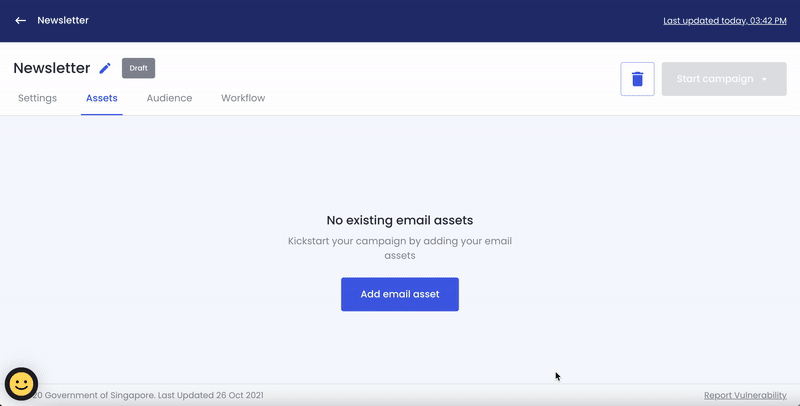
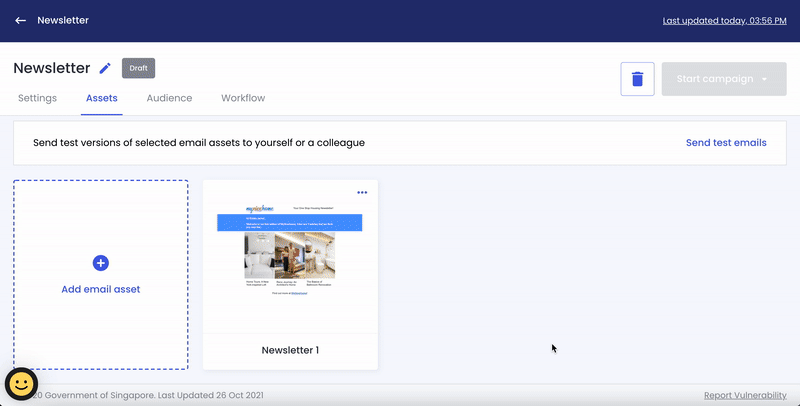
Add email asset
Navigate to Assets section:
1. Click Add email asset
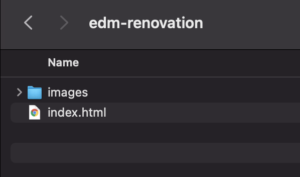
2. In Add email asset page, click Upload Folder
3. Select your email asset from your computer
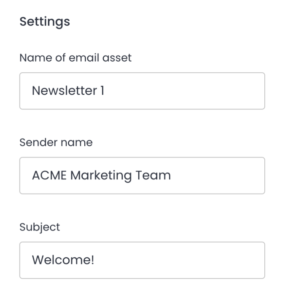
4. Fill in Name of email asset, Sender name and Subject
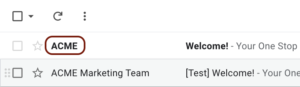
In your audience’s inbox, the sender name will look like this👇.
Once everything looks good, click Save and exit
Test your email campaign
Once you have added your email asset, you can send test emails before the campaign goes live.
Navigate to Assets section:
1. Click Send test emails
2. Select the email asset you want to test
3. Enter the email address to receive the test email
4. Click Send
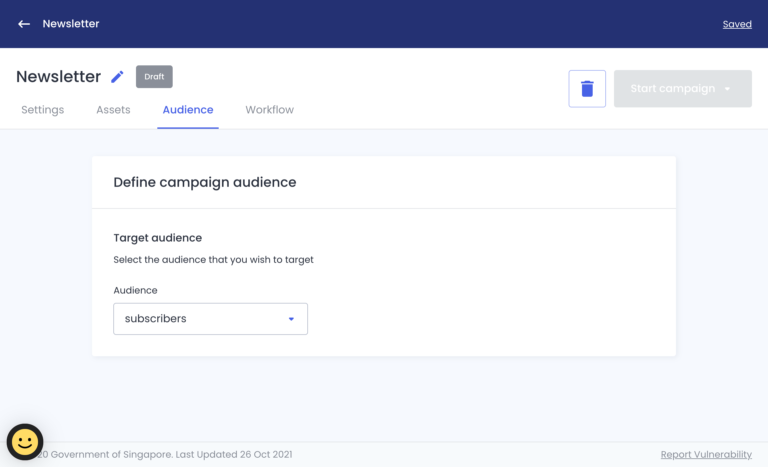
Define target audience
To select whom your email campaign will be sent to, navigate to Audience section:
– Select the audience that you wish to target
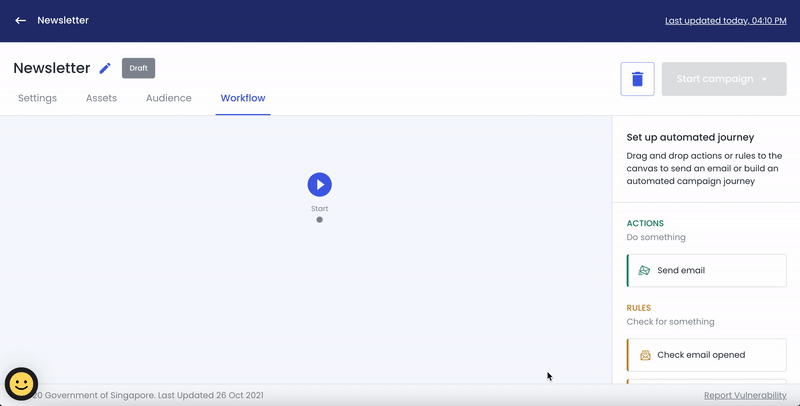
Start your campaign
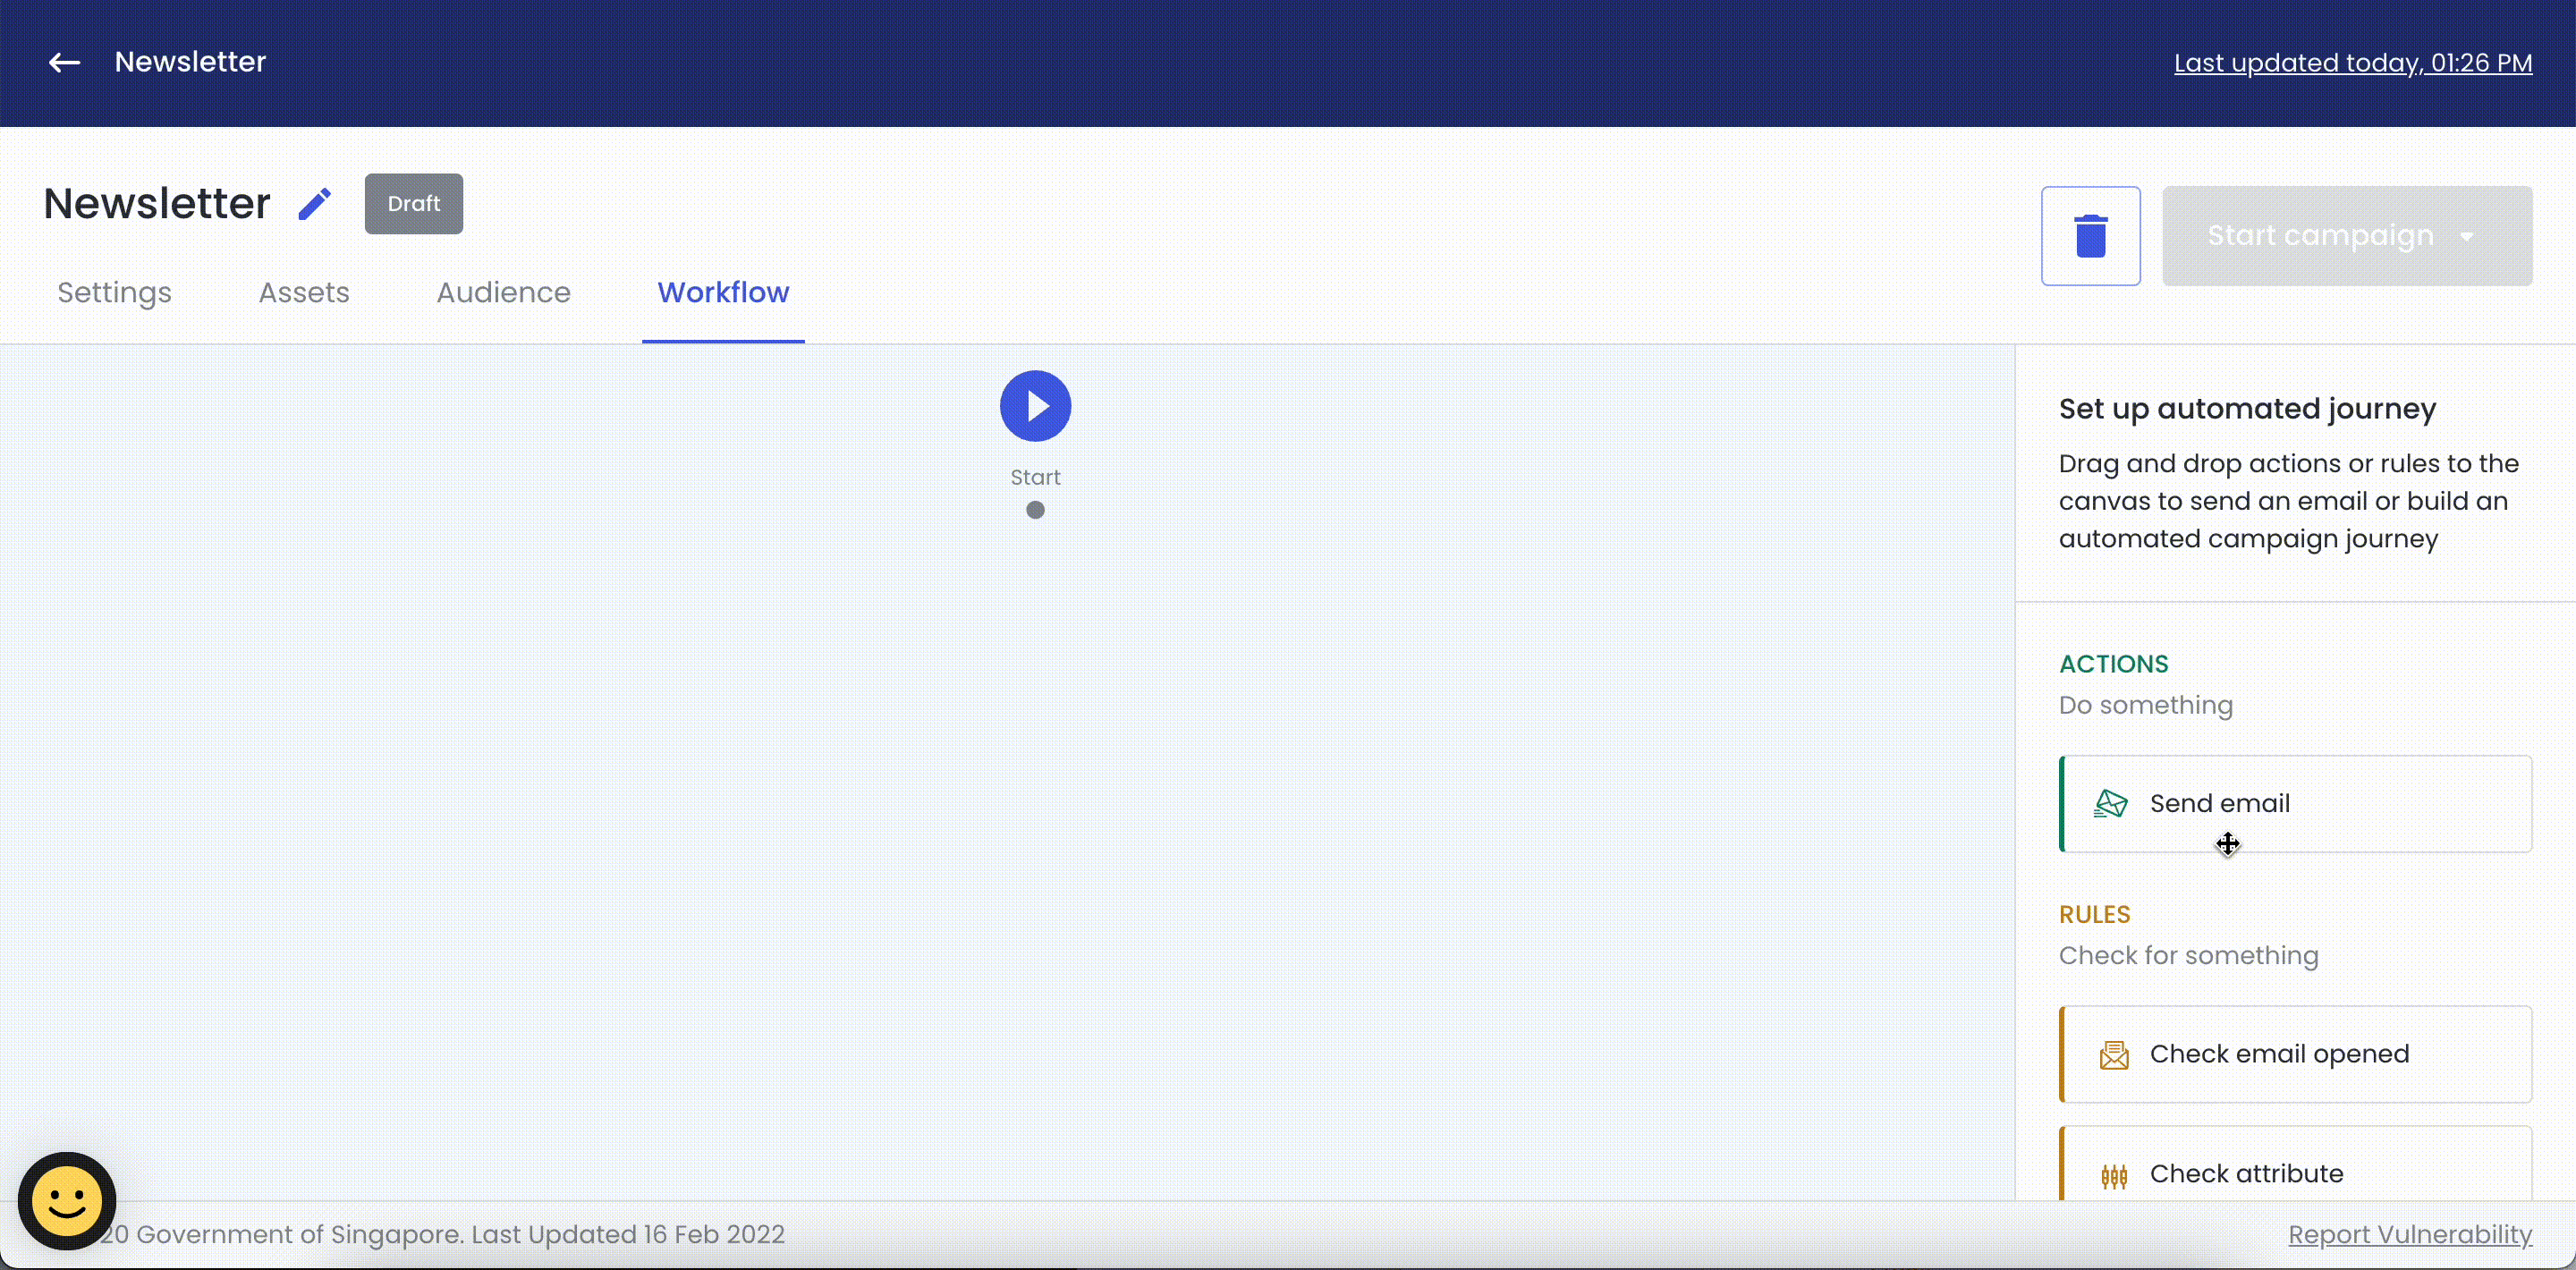
Navigate to Workflow section:
1. In the right side panel, drag and drop Send email block in the middle of the screen
2. On the right-side panel, select an email asset
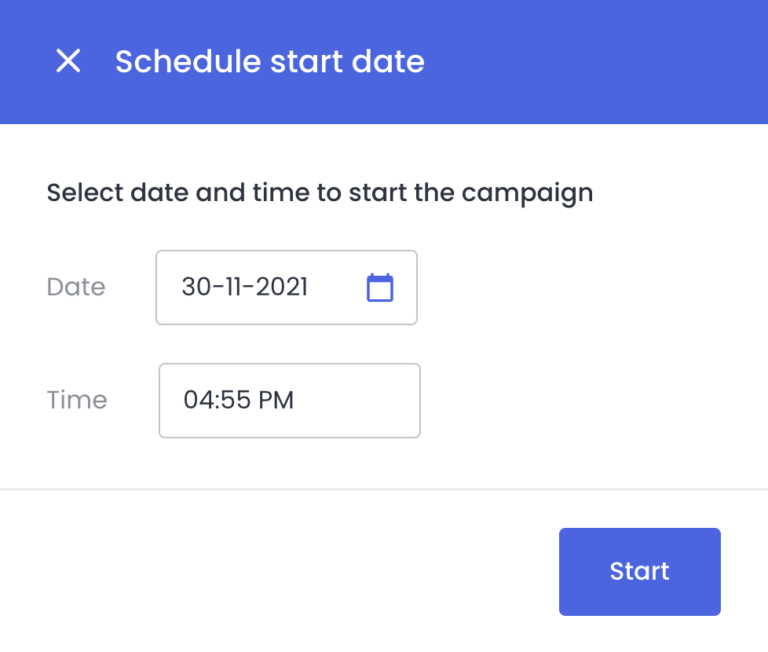
3. Decide when you want to send the campaign
4. Connect Start and Send email by linking the 2 grey dots
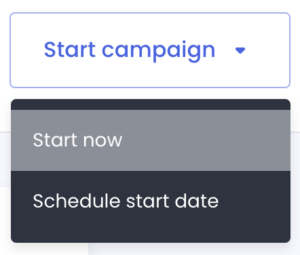
Once everything looks good, click Start campaign on the top right side of the screen.
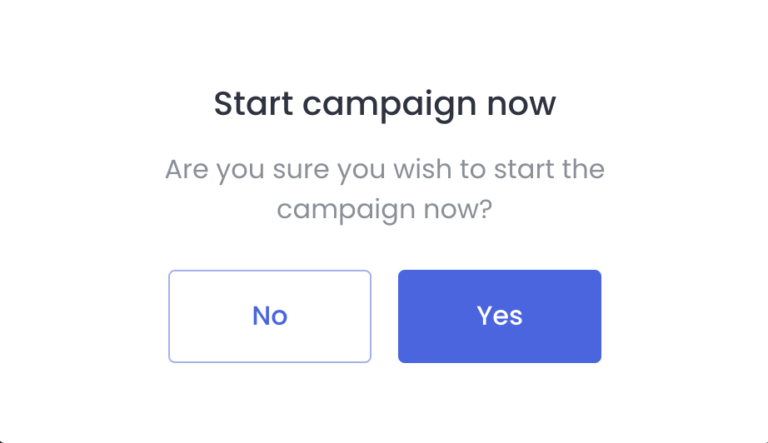
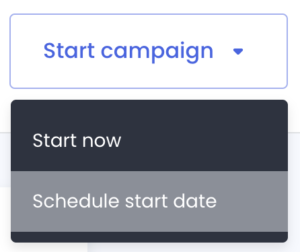
If you want to start the campaign immediately:
1. In the dropdown, select Start now
2. Click Yes
ℹ️ If you want to send different email campaigns to different audience segments in your workflow:
1. Drag and drop Check Attribute block
2. Select the attribute name and the relevant attributes you wish to add to the workflow
3. Drag and drop Send Email and select the relevant email asset for the attribute.
4. Repeat Step 3 for the remaining attributes.
ℹ️ If you want to send a follow-up email to the audience in your workflow:
1. Drag and drop Send Email block
2. Select the relevant email asset
3. Drag and drop Check email opened and select Wait. Then, choose the number of days you wish to wait for the recipient to open the email before you send the follow-up email.
4. Then, drag and drop Send Email block and select the relevant email asset for the follow-up email.