With Percy’s email editor, you can design email assets to your liking and publish them with convenience. This user guide will show you how to use the email editor.
You may refer to the video below for more details on how to create an email campaign.
Create your Email Design
Add content blocks such as text, headings, buttons, images, etc to form your email campaign
1. Select the content block that you would like in your design (e.g. button)
2. Drag and drop the content block to the Canvas on the left
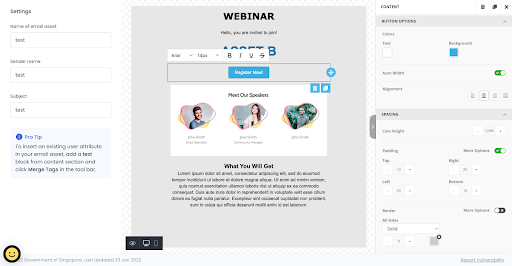
3. Customise your content block at the tools panel on the right hand side (e.g. adding a link for your Button)
Pro tip: PDF links can be included in your buttons! (get your PDF link by using the sharing tool on Adobe’s Acrobat DC, uploading it on your Google Drive or through any other software)
Customising your content blocks
1. Drag and drop the content block you want to use (e.g. button)
2. Click on the block for the customisation panel to appear on the right hand side.
3. You can customise the properties of the following content element:
– Text and background colour
– Font type and size
– Line height (the amount of space above and below the content element)
– Padding (the amount of space between the row/column’s content and its borders)
– Alignment for each content block
– URL links for buttons and images
– Border size and shape
– Editing in mobile or desktop view
* This list is not exhaustive
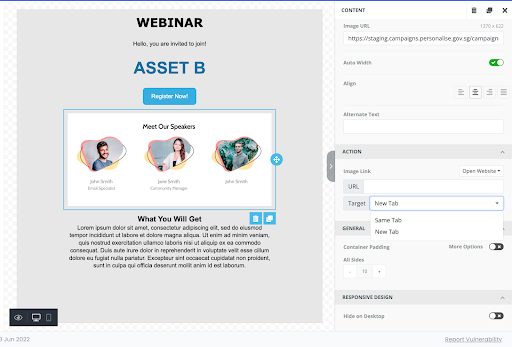
Adding Images
1. Drag the image block onto the canvas (all image types are supported)
2. Upload your image by directly dropping the file onto the toolbar or browsing through your files
3. Customise your image by adding an URL to your image, adjusting the image alignment and adjusting whether you want the URL to be opened on a new tab or the same tab
*Note: Image size is capped at 2MB and Images added via URL are not visible on the SOE laptop
Pro tip: You can add GIFs under images as well!
Customise Text for each Email Recipient - Adding Personalisation Tags
Add Personalised text for each email recipient (e.g. name, group, etc)
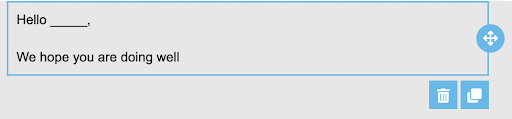
1. Add a Text Block from the content section
2. Craft your message that you would like to personalise. For e.g.
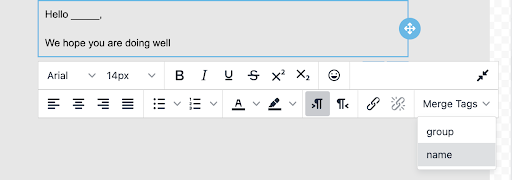
3. Click on Merge Tags and choose which of your existing user attribute (i.e column title inaudience list) to use from the dropdown
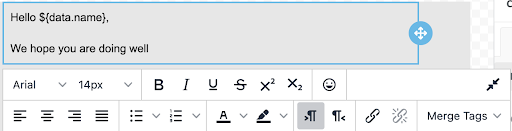
4. Add the code provided to your message accordingly
5. Create a test campaign to see how the message will turn out for your users or start your campaign after setting your workflow settings!
Preview your email
1. Click on the eye icon at the bottom left of the workspace
2. Preview your design in desktop, tablet or mobile view
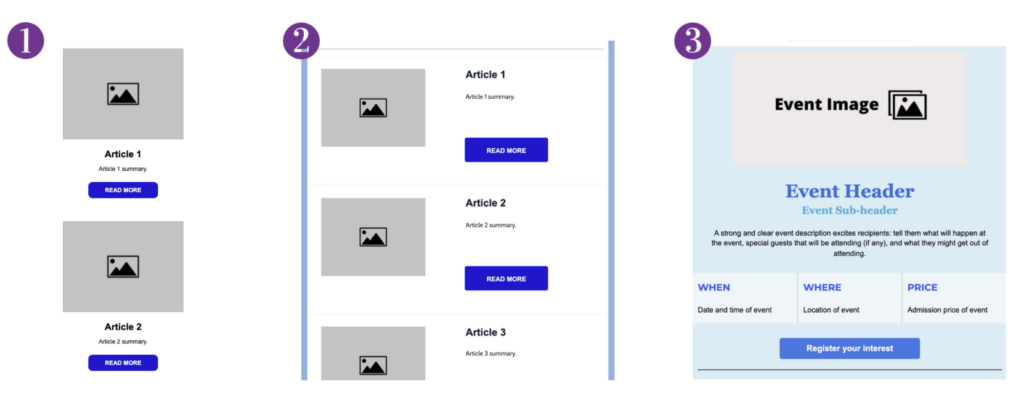
Templates
Not sure how to get started? We got you covered! You can refer to these templates for reference.